Refurb SALE: 20% off Select Refurbished Items SHOP NOW *
*Offer expires 04/30/24 at 3 a.m. ET. Some exclusions apply.
0
*Offer expires 04/30/24 at 3 a.m. ET. Some exclusions apply.
If you live in the cold snow covered regions of Northern Michigan like I do, you understand the challenges of getting outside during the winter months. This greatly cuts down on opportunities to get outside for all the shooting shenanigans and marksmanship training I enjoy so much. My competitive side longs for seeking the bullseye. But what if your bullseye seeking cravings could be satisfied through other means? I introduce to you the growing sport of indoor axe throwing!
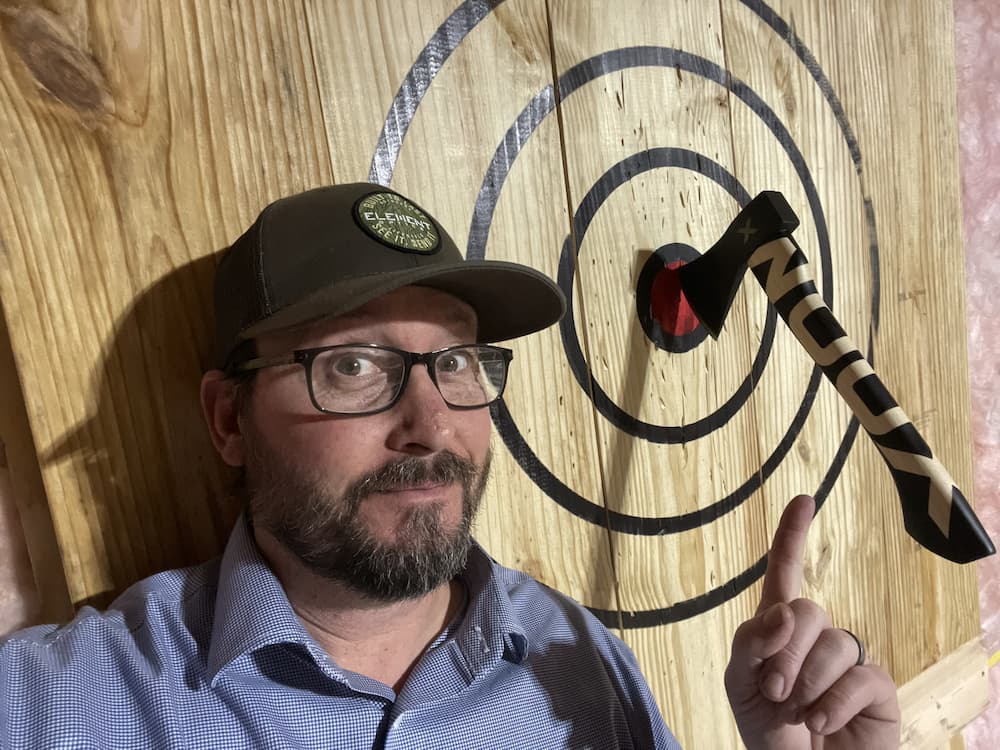
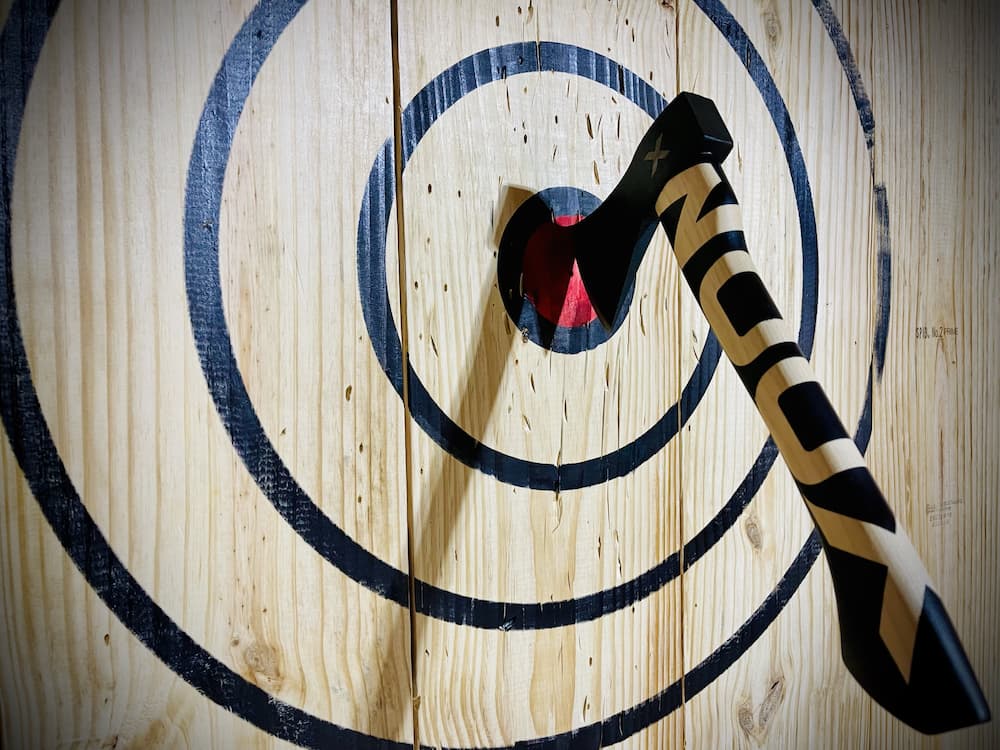
A few years ago, I stumbled upon this sport of axe throwing (sometimes known as "ax throwing") while flipping through cable channels and landed on ESPN3 where I got pulled into a binge watching marathon that lasted an entire weekend. That same year I visited a pub that had an axe throwing range and was intrigued. I knew at some point I would need to look into this further. When I saw Pyramyd AIR started carrying WOOX axes (specifically their Volante throwing axe) I knew it was time to dive in head first.
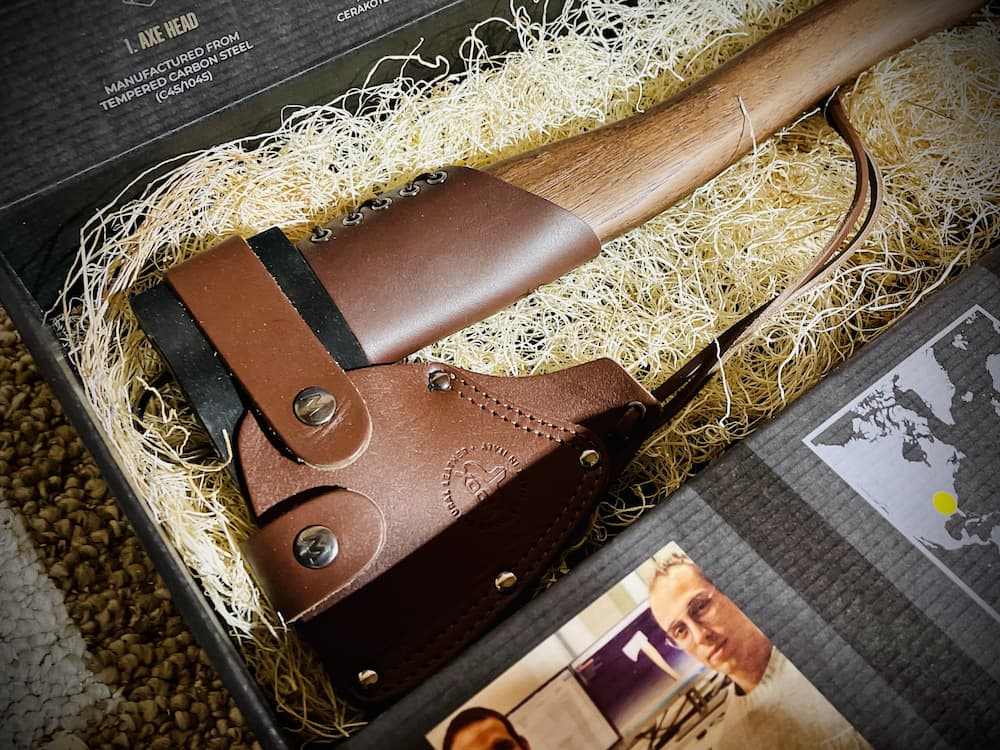
The Woox Volante axe is pretty amazing. You can use this thing as a normal camp axe and when you are done splitting firewood you can set up some fun friendly challenges. The premium hand-forged head of Italian steel and handle of American hickory makes this thing a HUGE step up from that hardware store axe I normally use.
The first thing I needed to do in this new axe throwing journey was to learn the nuances of building a suitable target. After hours of research, I learned there are quite a few considerations, but above all things, there are actual regulations that dictate the size/dimensions of the target and throwing distance. This write up was my approach, but you can find a TON of information about this on World Axe Throwing League.
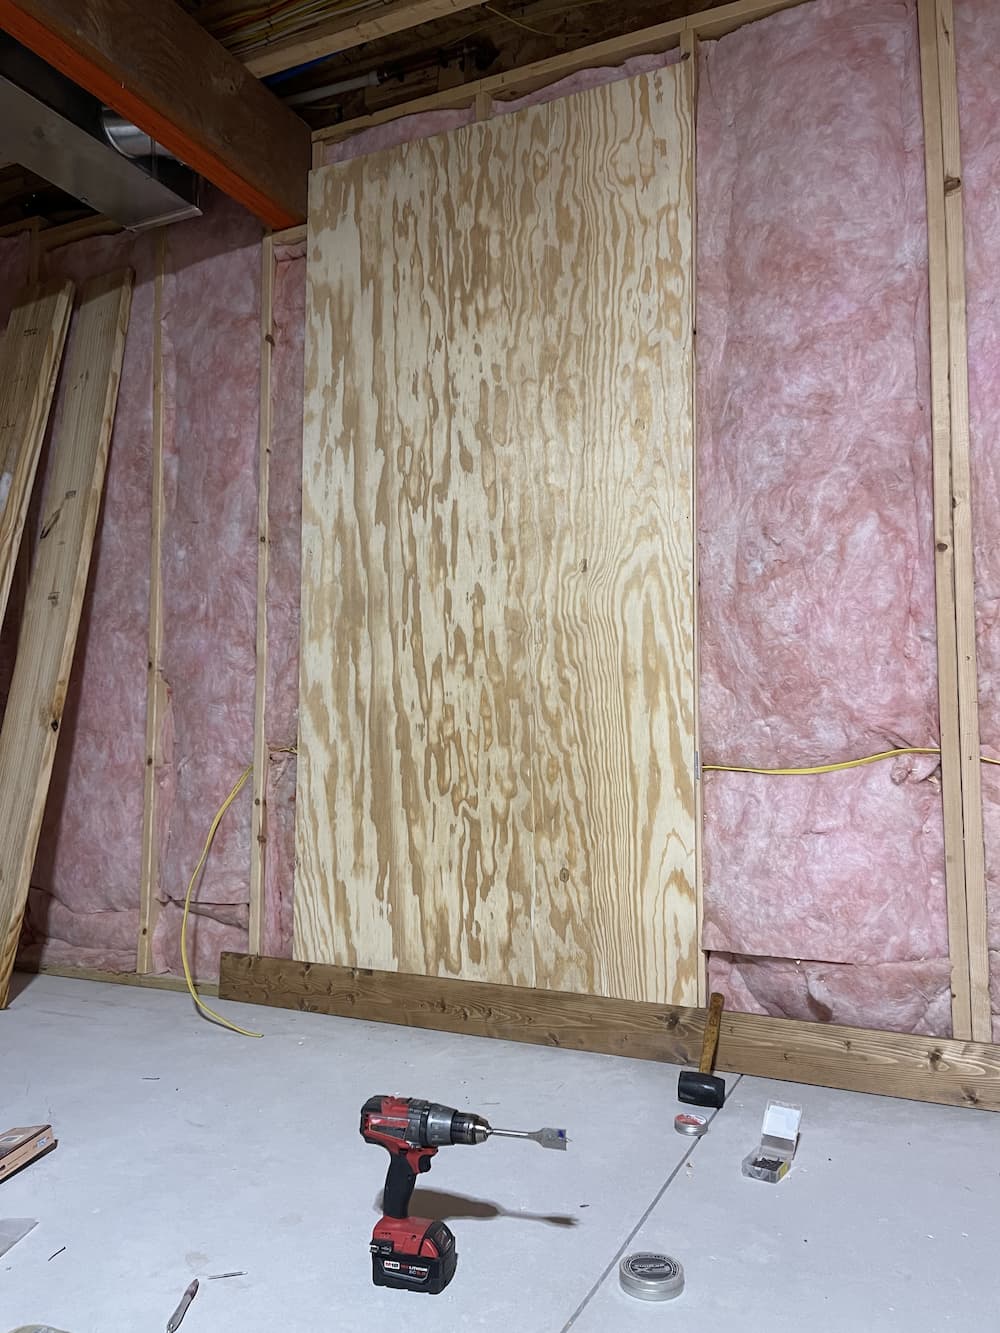
You can of course set these axe throwing targets up outside, but I wanted it to be a permanent fixture in my UpNorth Airgunner Man Cave / Gun Room. I found a perfect spot on my basement wall that had partially finished studs 24 inches on center for my throwing location. After digging into the regulations I found the throwing distance is to be 12 feet away. Perfect for a basement set up with limited room.
Setting up this target as a permanently installed solution, I needed a 4x8 plywood backer board that is 1/2 inch thick for attaching the header and target boards. The basement studs being spaced 24 inches on center made for a perfect fit with ZERO cutting. I screwed the board in with 8 x 2 1/2 inch screws into the studs.
This board selection will be the most critical part of the build, and there are a few reasons. #1 The size of the boards matter to ensure a longer usable life to withstand many axe throws. #2 The kind of wood matters to help with the axe being able to stick into the board. The size of the boards are 2x6s for the header and footer cut to match the width of the 4 foot wide backer board. The target boards are 2x10s cut 4 feet long.
The wood species also matters. Ideally the pros use a softer wood with as few knots as possible, typically Poplar wood. You can buy these regulation boards online or try to find them locally. I had to rely on my local hardware store where I could find Pine 2x10s which are much less expensive, but can work if you hand select the board.
Picking through the inventory of 2x10 pine boards I chose boards with the fewest knots I could find. If the boards did have large knots, I made sure they were on the edges of the board where an axe strike is less likely.

I cut the header and footer 2x6s into 4 foot lengths and installed the footer onto the backer board with 2 1/2 inch screws making sure to counter sink them deep into the board to avoid the chance of the axe hitting them.
I installed the footer board first and laid out the 5 target boards cut into 4 foot lengths, arranging them where if they had any knots those knots were on the edges as far away from the bullseye board as possible. I picked the cleanest, least knotty board for the center bullseye, securing all the boards to the backer board with 2 1/2 inch screws and also counter-sinking them deep into the wood on the far edges to avoid axe strikes.
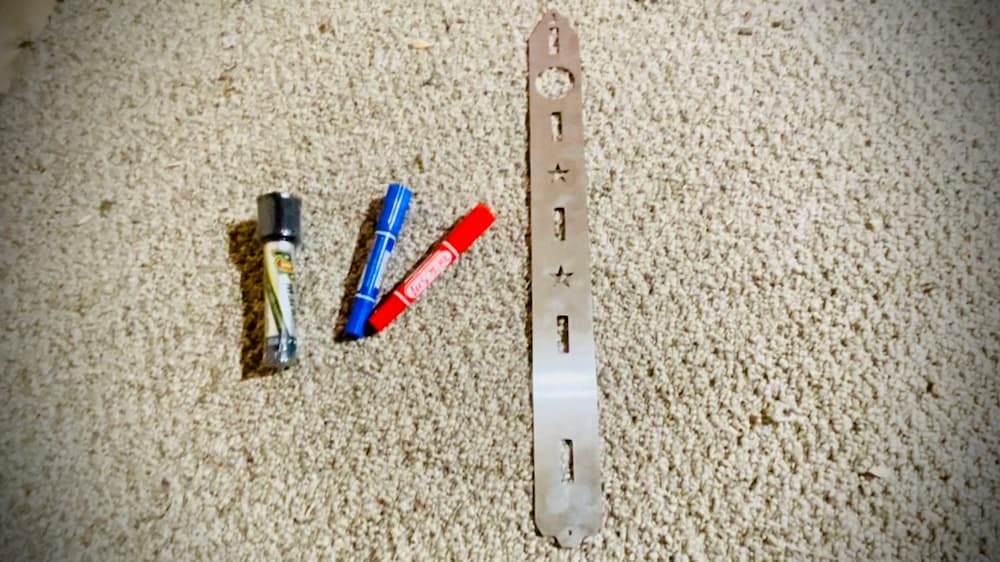
To make your target rings, bullseye, and challenge kill dots, you can buy this slick template kit with a special thick black marker that makes lines that are to regulation width. A regulation axe-throwing board has the bullseye 60 inches from the floor. Secure the template tool to the center of the bullseye area 60 inches from the floor and use the marker that clicks into the tool. This tool makes perfect circles giving your target board regulation dimensions.
Now you are ready to start chucking axes. But before you do, I am going to share some mistakes I made from which you can learn! I am a total noobie at this, but I found out very quickly that even though I chose board configurations to have as few knots to hit, I was still having issues getting my axe to stick. So tip #1 is to make sure you have a foam matting or other soft covering for the floor under the target and about 4 feet away from the target to ensure your axe doesn't hit the cement floor.
I also learned right away that throwing an axe is less a throw as much as it is more of a toss or push to get one rotation of the axe and letting the weight of the head do the work. Once I got that technique down, almost every throw was sticking in the board.
Aiming while throwing an axe is much like archery or golf. It is about the precision and consistency of your throwing form. Consistency is key! I found that holding the axe at my ear level with my arm parallel to the floor and releasing it right before my arms were fully extended gave me the same rotation every time.
The other technique I learned was ensuring the axe was perfectly straight up and down. This ensures that on impact the head of the axe is splitting the vertical wood grain and sticks. Lastly, maybe the most important thing I learned was ensuring your axe is super sharp. The WOOX Volante came out of the box very sharp, but I also got the WOOX sharpening puck to keep this thing paper slicing sharp.
The last tip is that apparently wetting the target boards helps the axe stick into the fibers of the wood so having a large spray bottle (like a pump gardening spray device) wets the wood and helps greatly with allowing the axe to stick. You can also make end grain target boards which is a far more detailed process than this beginner's approach to target building.
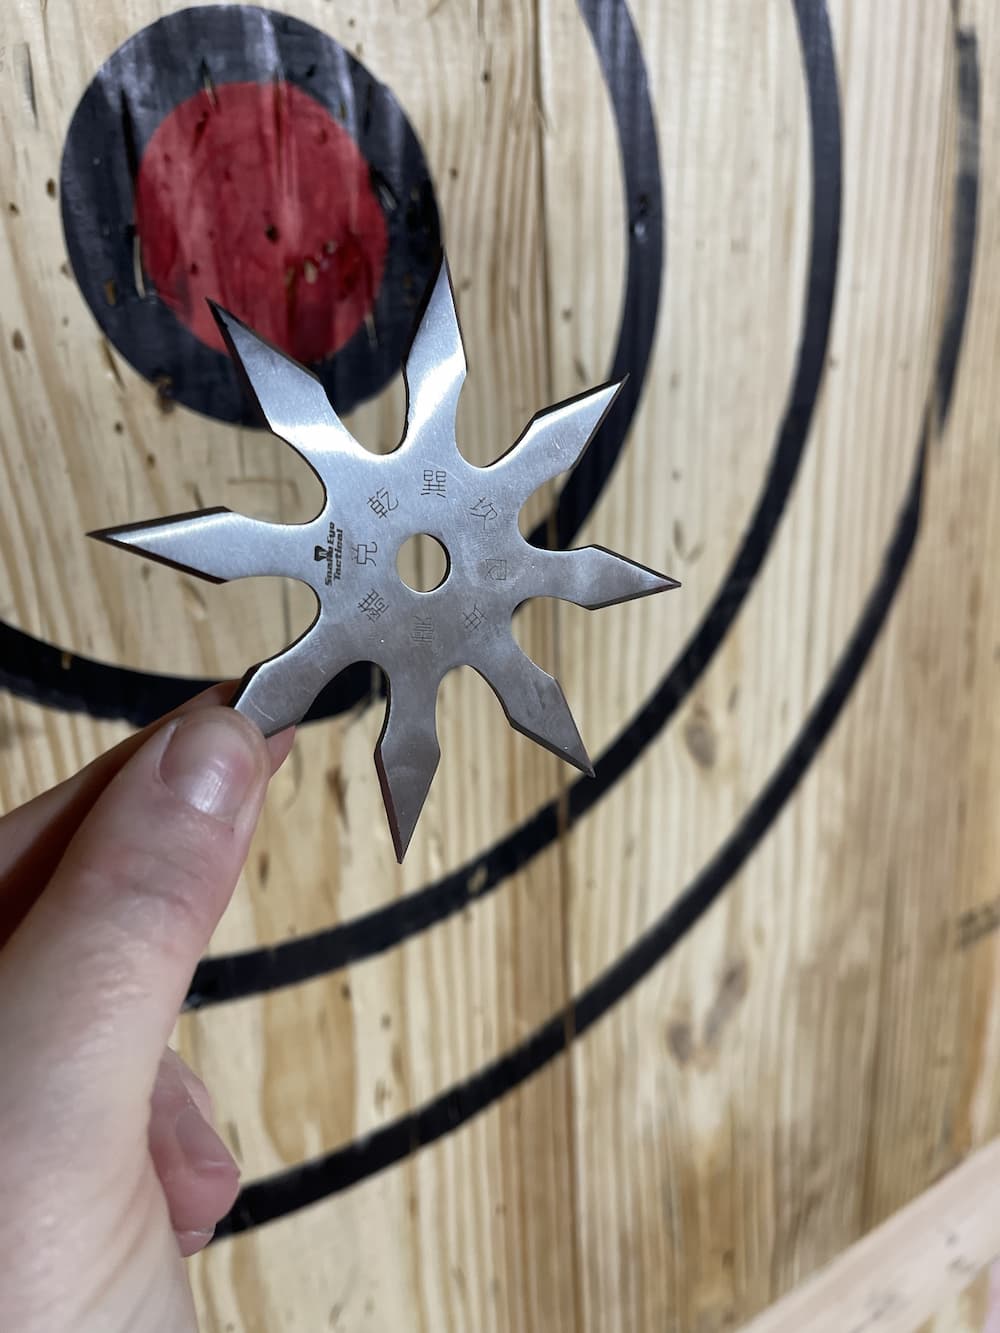
Once I got the board built and spent a few hours throwing, my son got the idea of buying some throwing stars he saw at a local knife shop. We ran to the shop and got a set of those and some throwing knives too. My wife now has to drag my son and me out of the basement for dinner because we have become addicted to axe throwing!
I hope this article helps get you started in this sport! Of course, you could take the faster approach by ordering a pre-measured, pre-cut, pre-stained axe throwing target for sale here at Pyramyd, but where's the fun in that? So much more to learn and practice, but so far this has to be one of the most fun indoor sports I have ever done!
Buy With Confidence
Get FREE shipping on qualifying orders! Any order $150+ with a shipping address in the contiguous US will receive the option for free ground shipping on items sold & shipped by Pyramyd AIR during checkout. Certain restrictions apply.
Free shipping may not be combined with a coupon unless stated otherwise.
View Shipping Info
We work hard to get all orders placed by 12 pm EST out the door within 24 hours on weekdays
because we know how excited you are to receive your order.
Weekends and holiday shipping times will vary.
During busy holidays, we step our efforts to ship all orders as fast as possible,
but you may experience an additional 1-2 day delay before your order ships.
This may also happen if you change your order during processing.
View Shipping Times
It's important to know that due to state and local laws, there are certain restrictions for various products.
It's up to you to research and comply with the laws in your state, county, and city.
If you live in a state or city where air guns are treated as firearms you may be able to take advantage of our FFL special program.
U.S. federal law requires that all airsoft guns are sold with a 1/4-inch blaze orange muzzle
or an orange flash hider to avoid the guns being mistaken for firearms.
View Shipping Restrictions
Get the most out of your equipment when you work with the expert technicians at Pyramyd AIR. With over 25 years of combined experience, we offer a range of comprehensive in-house services tailored to kickstart your next adventure.
If you're picking up a new air gun, our team can test and tune the equipment before it leaves the warehouse. We can even set up an optic or other equipment so you can get out shooting without the hassle. For bowhunters, our certified master bow technicians provide services such as assembly, optics zeroing, and full equipment setup, which can maximize the potential of your purchase.
By leveraging our expertise and precision, we ensure that your equipment is finely tuned to meet your specific needs and get you ready for your outdoor pursuits. So look out for our services when shopping for something new, and let our experts help you get the most from your outdoor adventures.
View Service Info
Shop and purchase with confidence knowing that all of our air guns (except airsoft) are protected
by a minimum 1-year manufacturer's warranty from the date of purchase unless otherwise noted on the product page.
A warranty is provided by each manufacturer to ensure that your product is free of defect in both materials and workmanship.
View Warranty Details
Didn't get what you wanted or have a problem? We understand that sometimes things aren't right and our team is serious about resolving these issues quickly. We can often help you fix small to medium issues over the phone or email.
If you need to return an item please read our return policy.
Learn About Returns
Get FREE shipping on qualifying orders! Any order $150+ with a shipping address in the contiguous US will receive the option for free ground shipping on items sold & shipped by Pyramyd AIR during checkout. Certain restrictions apply.
Free shipping may not be combined with a coupon unless stated otherwise.
View Shipping Info
Want More?
Join Our Email List for News and Deals!
Join the Pyramyd AIR mailing list: Our e-mails are filled with new products, deals, sneak peeks, tips and tricks, contests and more - sign up today!
Text JOIN to 91256 and get $10 OFF Your Next $50+ Order!
* By providing your number above, you agree to receive recurring autodialed marketing text msgs (e.g. cart reminders) to the mobile number used at opt-in from Pyramyd AIR on 91256. Reply with birthday MM/DD/YYYY to verify legal age of 18+ in order to receive texts. Consent is not a condition of purchase. Msg frequency may vary. Msg & data rates may apply. Reply HELP for help and STOP to cancel. See Terms and Conditions & Privacy Policy.
Customer Support
Customer Support
![]()
![]()
![]()
![]()
![]()
![]()
Copyright © 1999-2024 Pyramyd AIR. All Rights Reserved.


