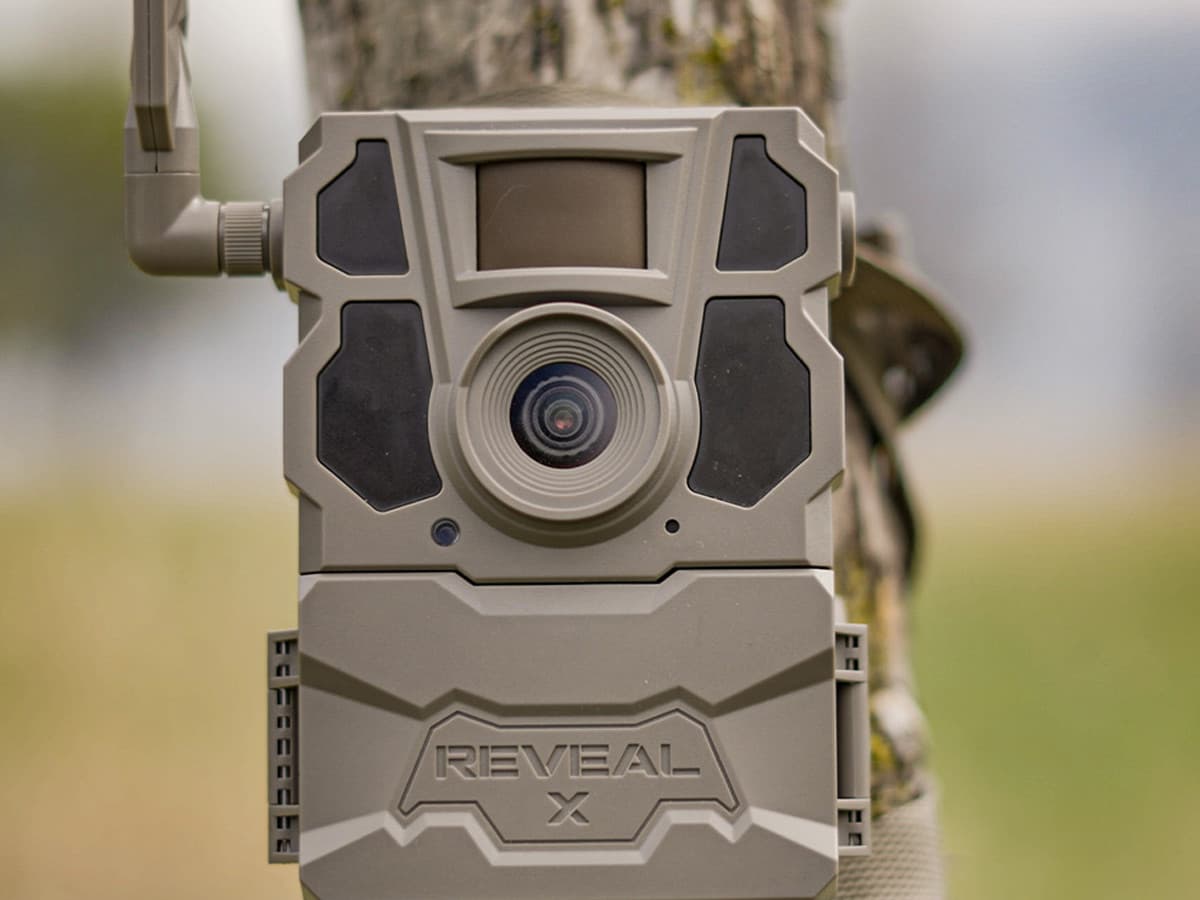
Scouting your hunt area is an important part of the hunting process. It helps you get a better understanding of the wildlife in the area, as well as their habits and patterns. One of the best ways to scout your hunt area is to use trail cameras.
Determine the Best Place to Put the Cameras
Start by looking for well-used trails. Wild animals are creatures of habit and tend to follow the same paths each time they come through an area. Find the path that is the most heavily used and position your camera on that path. Make sure the camera is secure so that it doesn’t move or get knocked down.
You’ll want to consider the angle at which you’re placing the camera. This is important because some game may not show up in the camera frame if the camera is set at the wrong angle. Ideally, the camera should be aimed slightly downhill so that you can capture a wide field of view. You also want to make sure that the camera lens is pointed away from direct sunlight to avoid glare.
You’ll want to think about the height at which you set your camera. The optimal height varies depending on the type of animal that you are trying to monitor. Generally speaking, a height 2-3 feet off the ground should give you good results.
Once you have determined where to place your camera, you can move on to setting it up and monitoring the activity that it captures.
Set Up the Cameras
Once you have determined where you want to place your camera, it’s time to set it up. Trail cameras are relatively easy to install and can be placed in a variety of locations, depending on what you want to capture.
First, pick a spot with good visibility. You’ll want the camera to be able to see as much of the area as possible. Keep in mind that trail cameras are designed to capture motion, so make sure you select a location that will allow it to do its job.
Next, secure the camera in place. Trail cameras are designed to be discreet and most come with mounting brackets that can help you attach them to a tree or post. You can also use rocks or other objects in the environment to secure the camera in place.
Once the camera is securely mounted, adjust the settings according to your needs. Most cameras come with a variety of settings, including sensitivity level and timer. Depending on what type of animal activity you are trying to capture, you may need to adjust the settings accordingly.
Make sure the camera is camouflaged to blend in with the environment. Natural elements such as leaves and sticks can help hide the camera from view and keep it out of sight from any animals nearby.
Once everything is set up, your trail camera is ready to go. Now all you need to do is wait for the motion sensor to detect any animals passing by, and review the photos and video when you check the camera.
Check the Cameras Regularly
You should check your cameras at least weekly. This will give you a good idea of the wildlife movement in the area, and give you a better understanding of where you should focus your hunting efforts.
Before you visit your camera, make sure to have a clear plan for what you want to do when you get there. Will you be changing the batteries and SD cards? Will you set up any new cameras? Make sure to bring all the necessary supplies, and take a few moments to familiarize yourself with the area.
When you arrive at the site, it’s important to approach it carefully so you don’t disturb any wildlife that might be there. Once you reach your camera, check the condition and make any necessary adjustments or repairs. If you need to change the SD card or batteries, make sure to use the same type of equipment that you started with.
Once you’ve made any changes, take a moment to look around and observe the area. Note any tracks, droppings, or other signs of wildlife. Pay attention to wind direction and speed, as well as any food sources nearby. All of these factors can affect your hunting strategies.
Finally, take a few moments to review the images from your camera. Are there certain areas where your target animal is congregating more than others? Are there particular times of day when more are present? Document all your findings so that you can use the information to your advantage.
Use the Information You Collected
By analyzing the images that your trial camera captured, you can get a better understanding of the animals in the area.
If the animals are following a pattern, you can use this information to predict when they will be in a certain area. You can also observe times of day when they are most active. For example, what time do the turkeys come down from their roost? What time do they return to roost? Where is their watering hole? What food are they eating most?
This can all help you identify which area of the land has the most activity, and where it would be best to set up your blind for the best results.

