Stand out, by personalizing the look and performance of your arrows
Today, archers can choose not only from a vast assortment of arrow shafts, but also a seemingly endless array of options for dressing them up. Once the bare carbon or aluminum shafts, wraps (optional), fletching, inserts, nocks, and tips are in hand, it’s all about precise assembly. Personalizing arrows is nothing new, but has taken on a next-level look and feel with seemingly endless possibilities.
Planning and Preparation
Most pro shops stock an assortment of finished shafts, but for the discerning archer concerned about performance and the look of their arrows, customizing is the name of the game. It’s one thing to like the way an arrow shaft looks and feels, but it’s much more important to determine which shaft best suits your purpose and most critically, which one shoots most accurately from your bow. Thickness of the shaft (diameter and thickness of the wall) along with flex (or stiffness) will be key considerations.
Plastic Vanes or Feathers
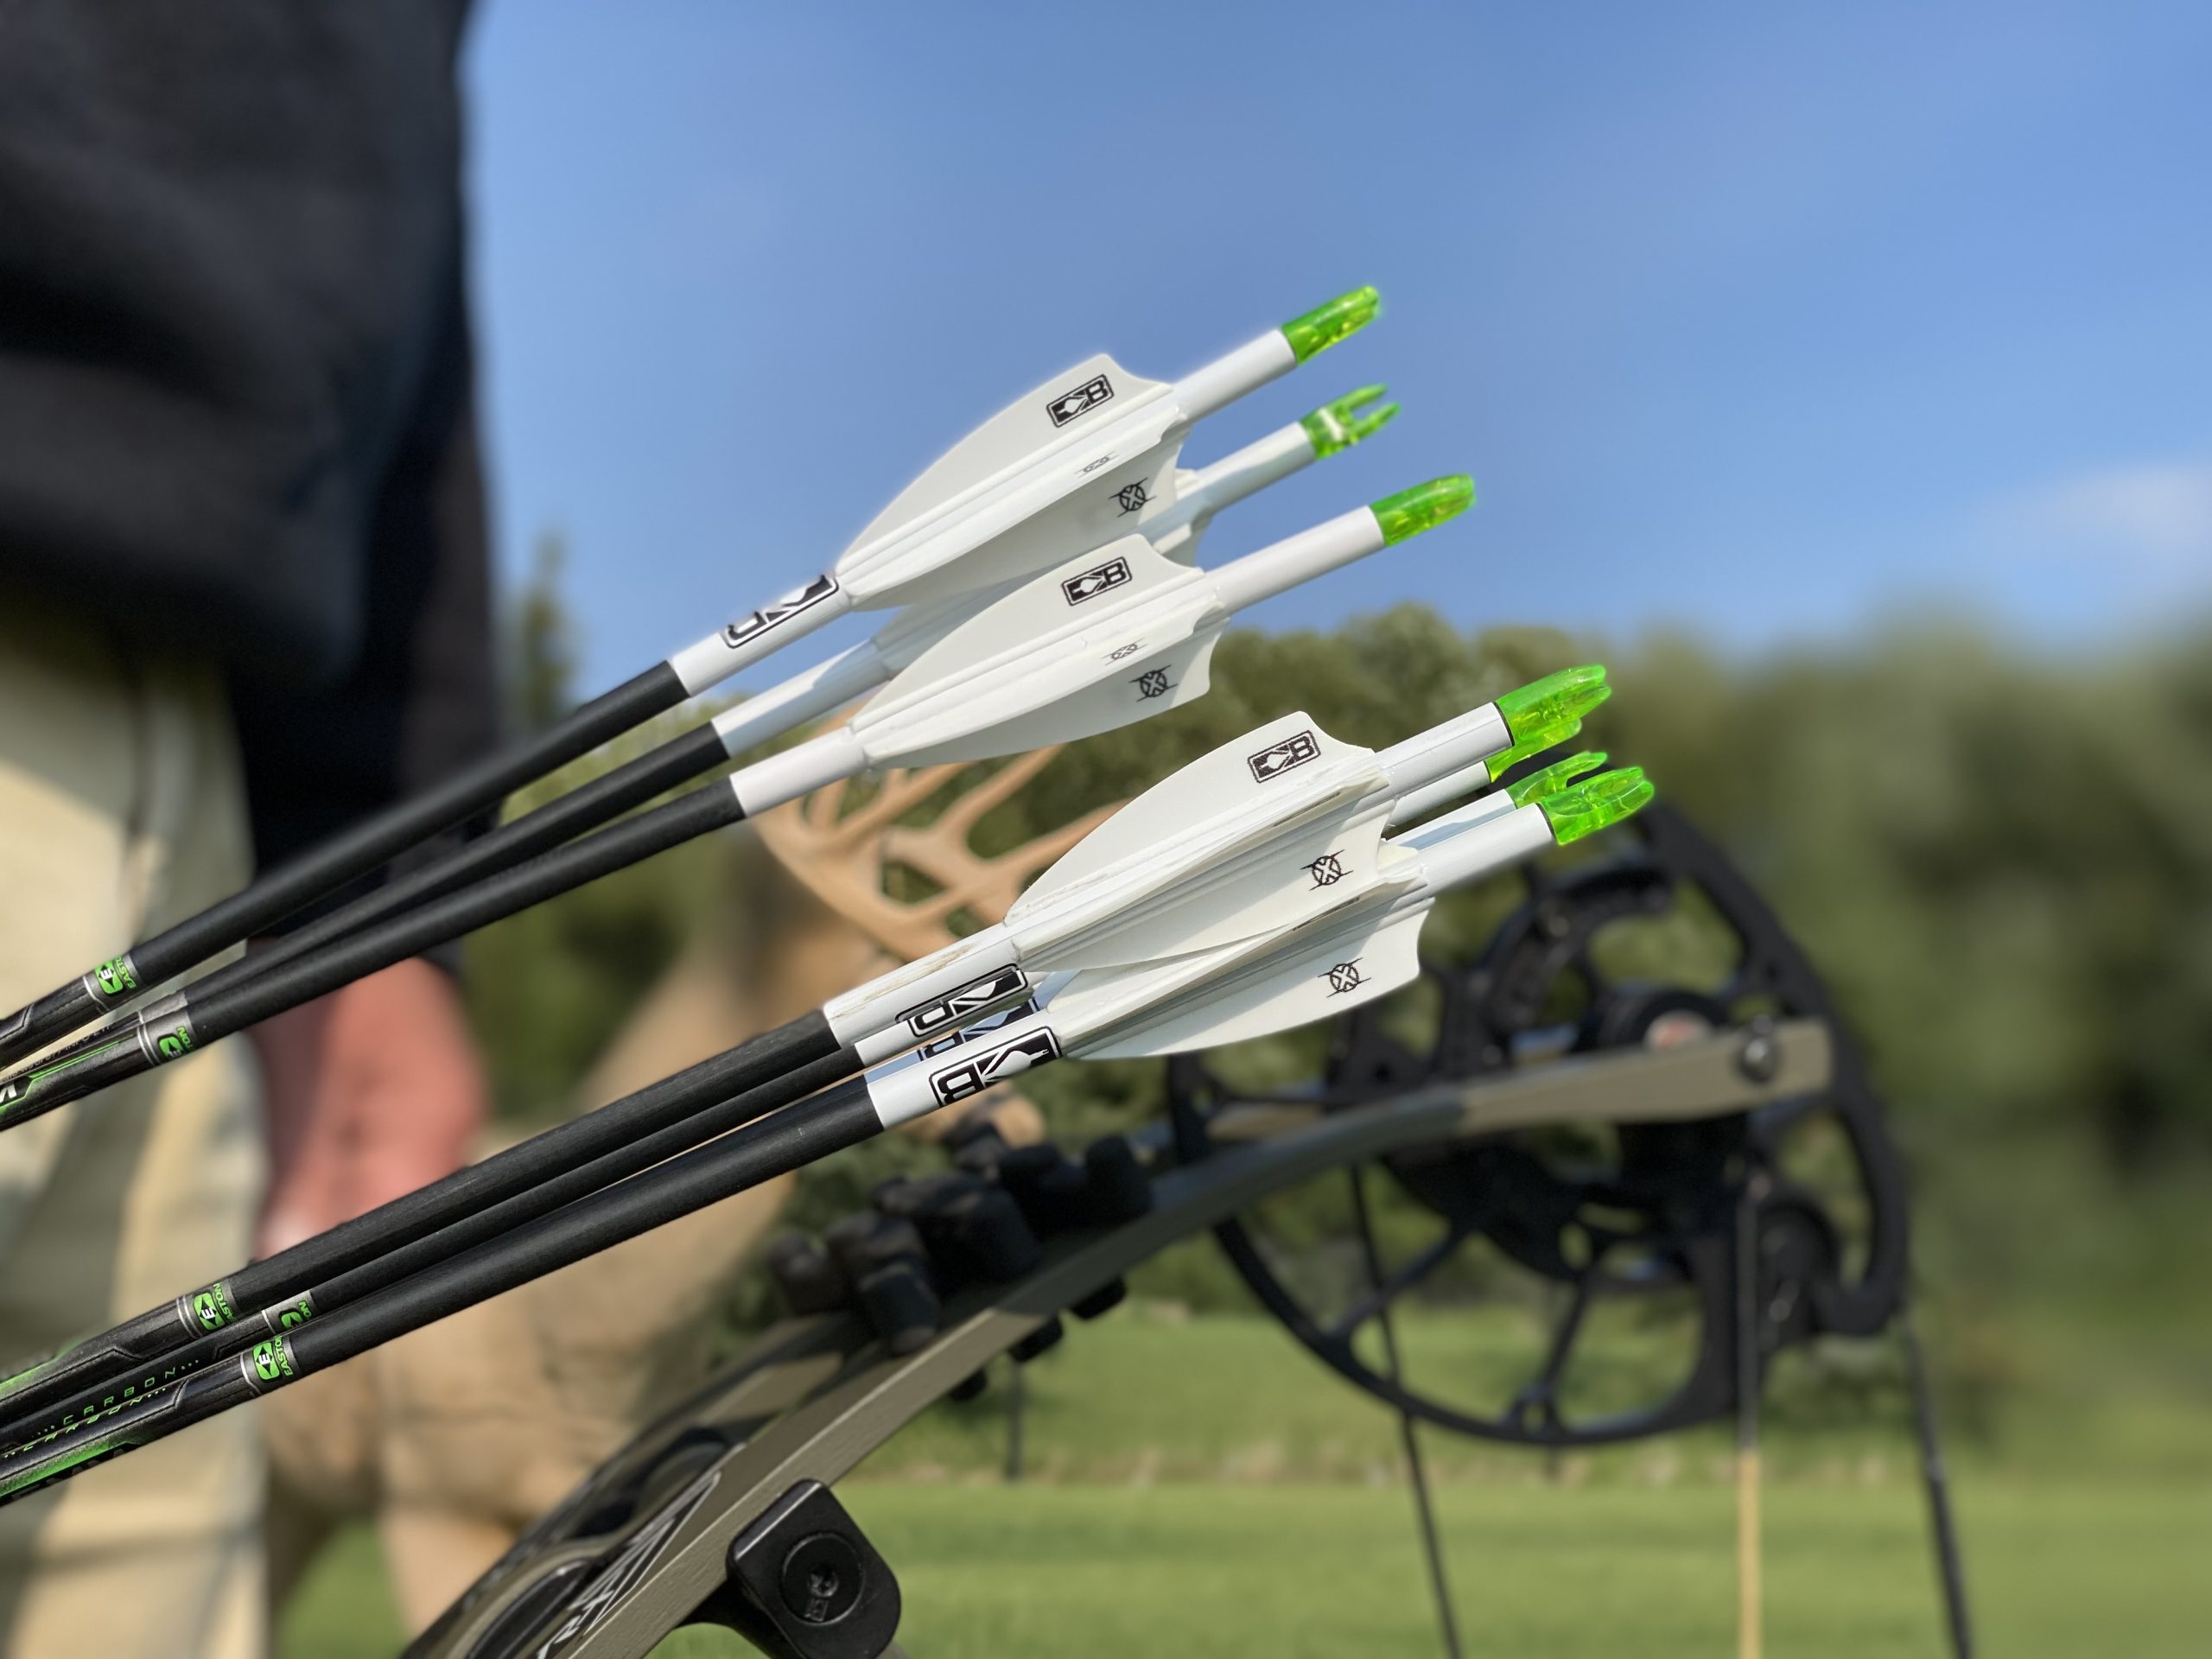
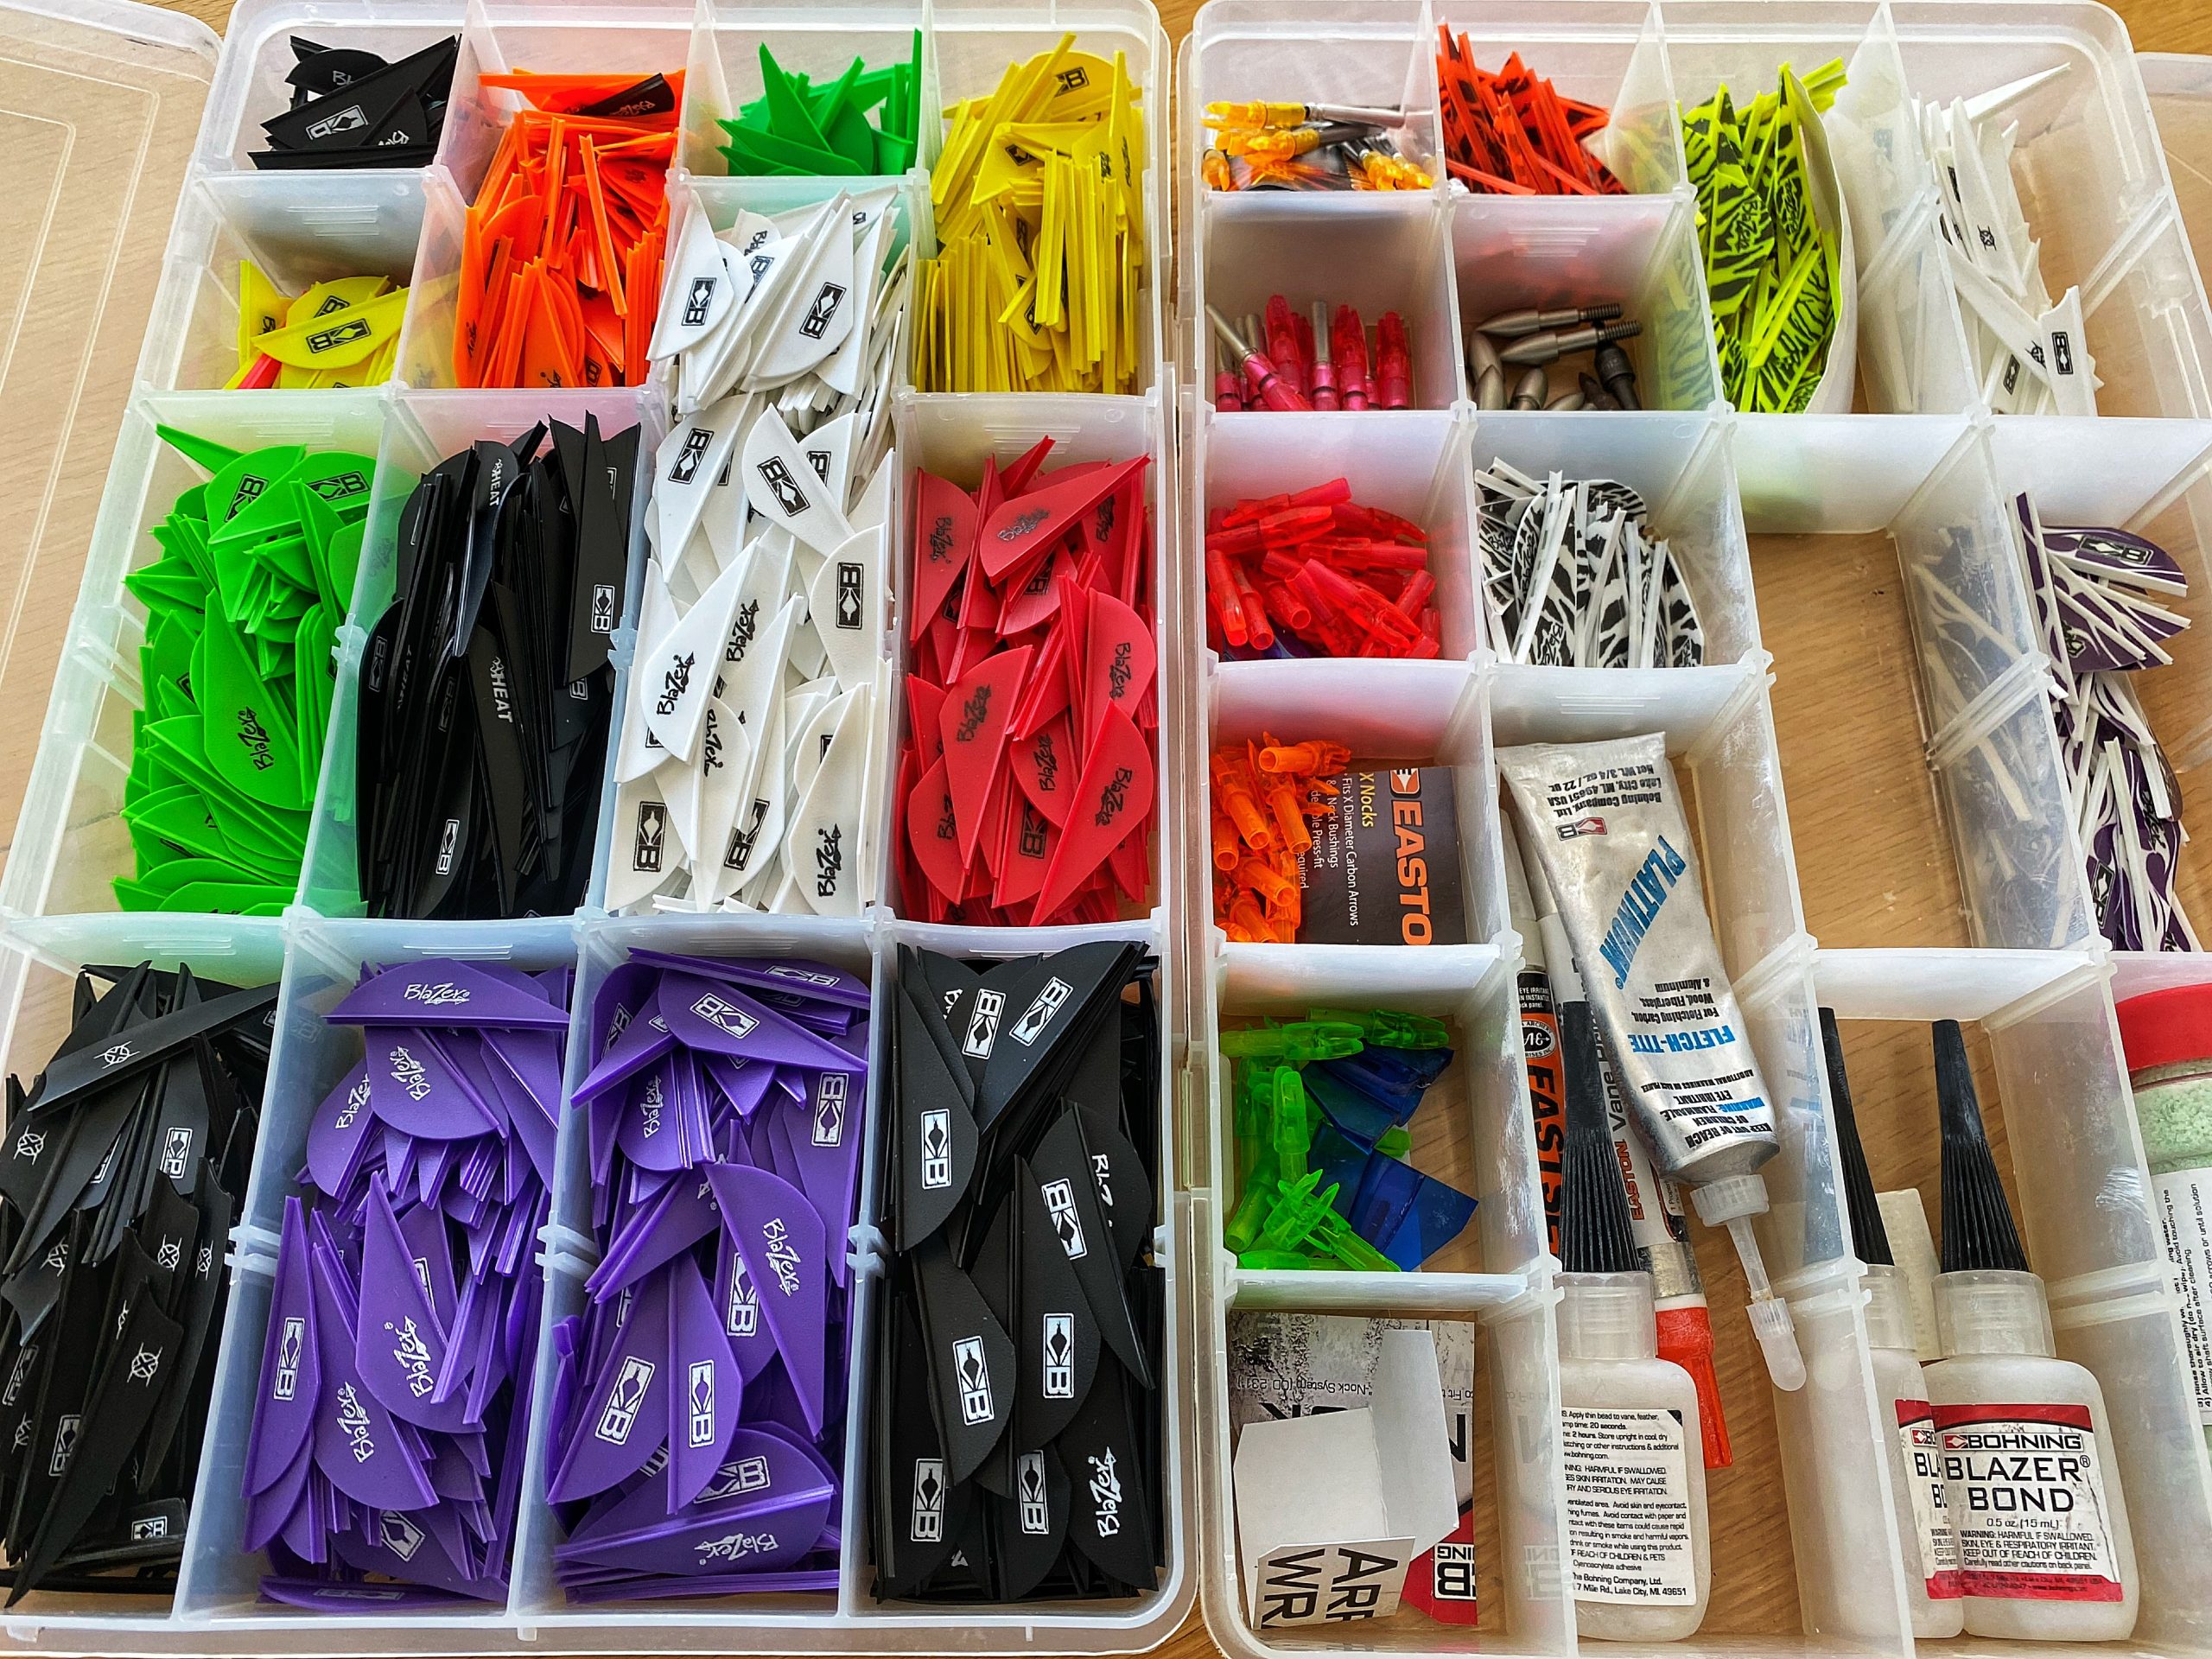
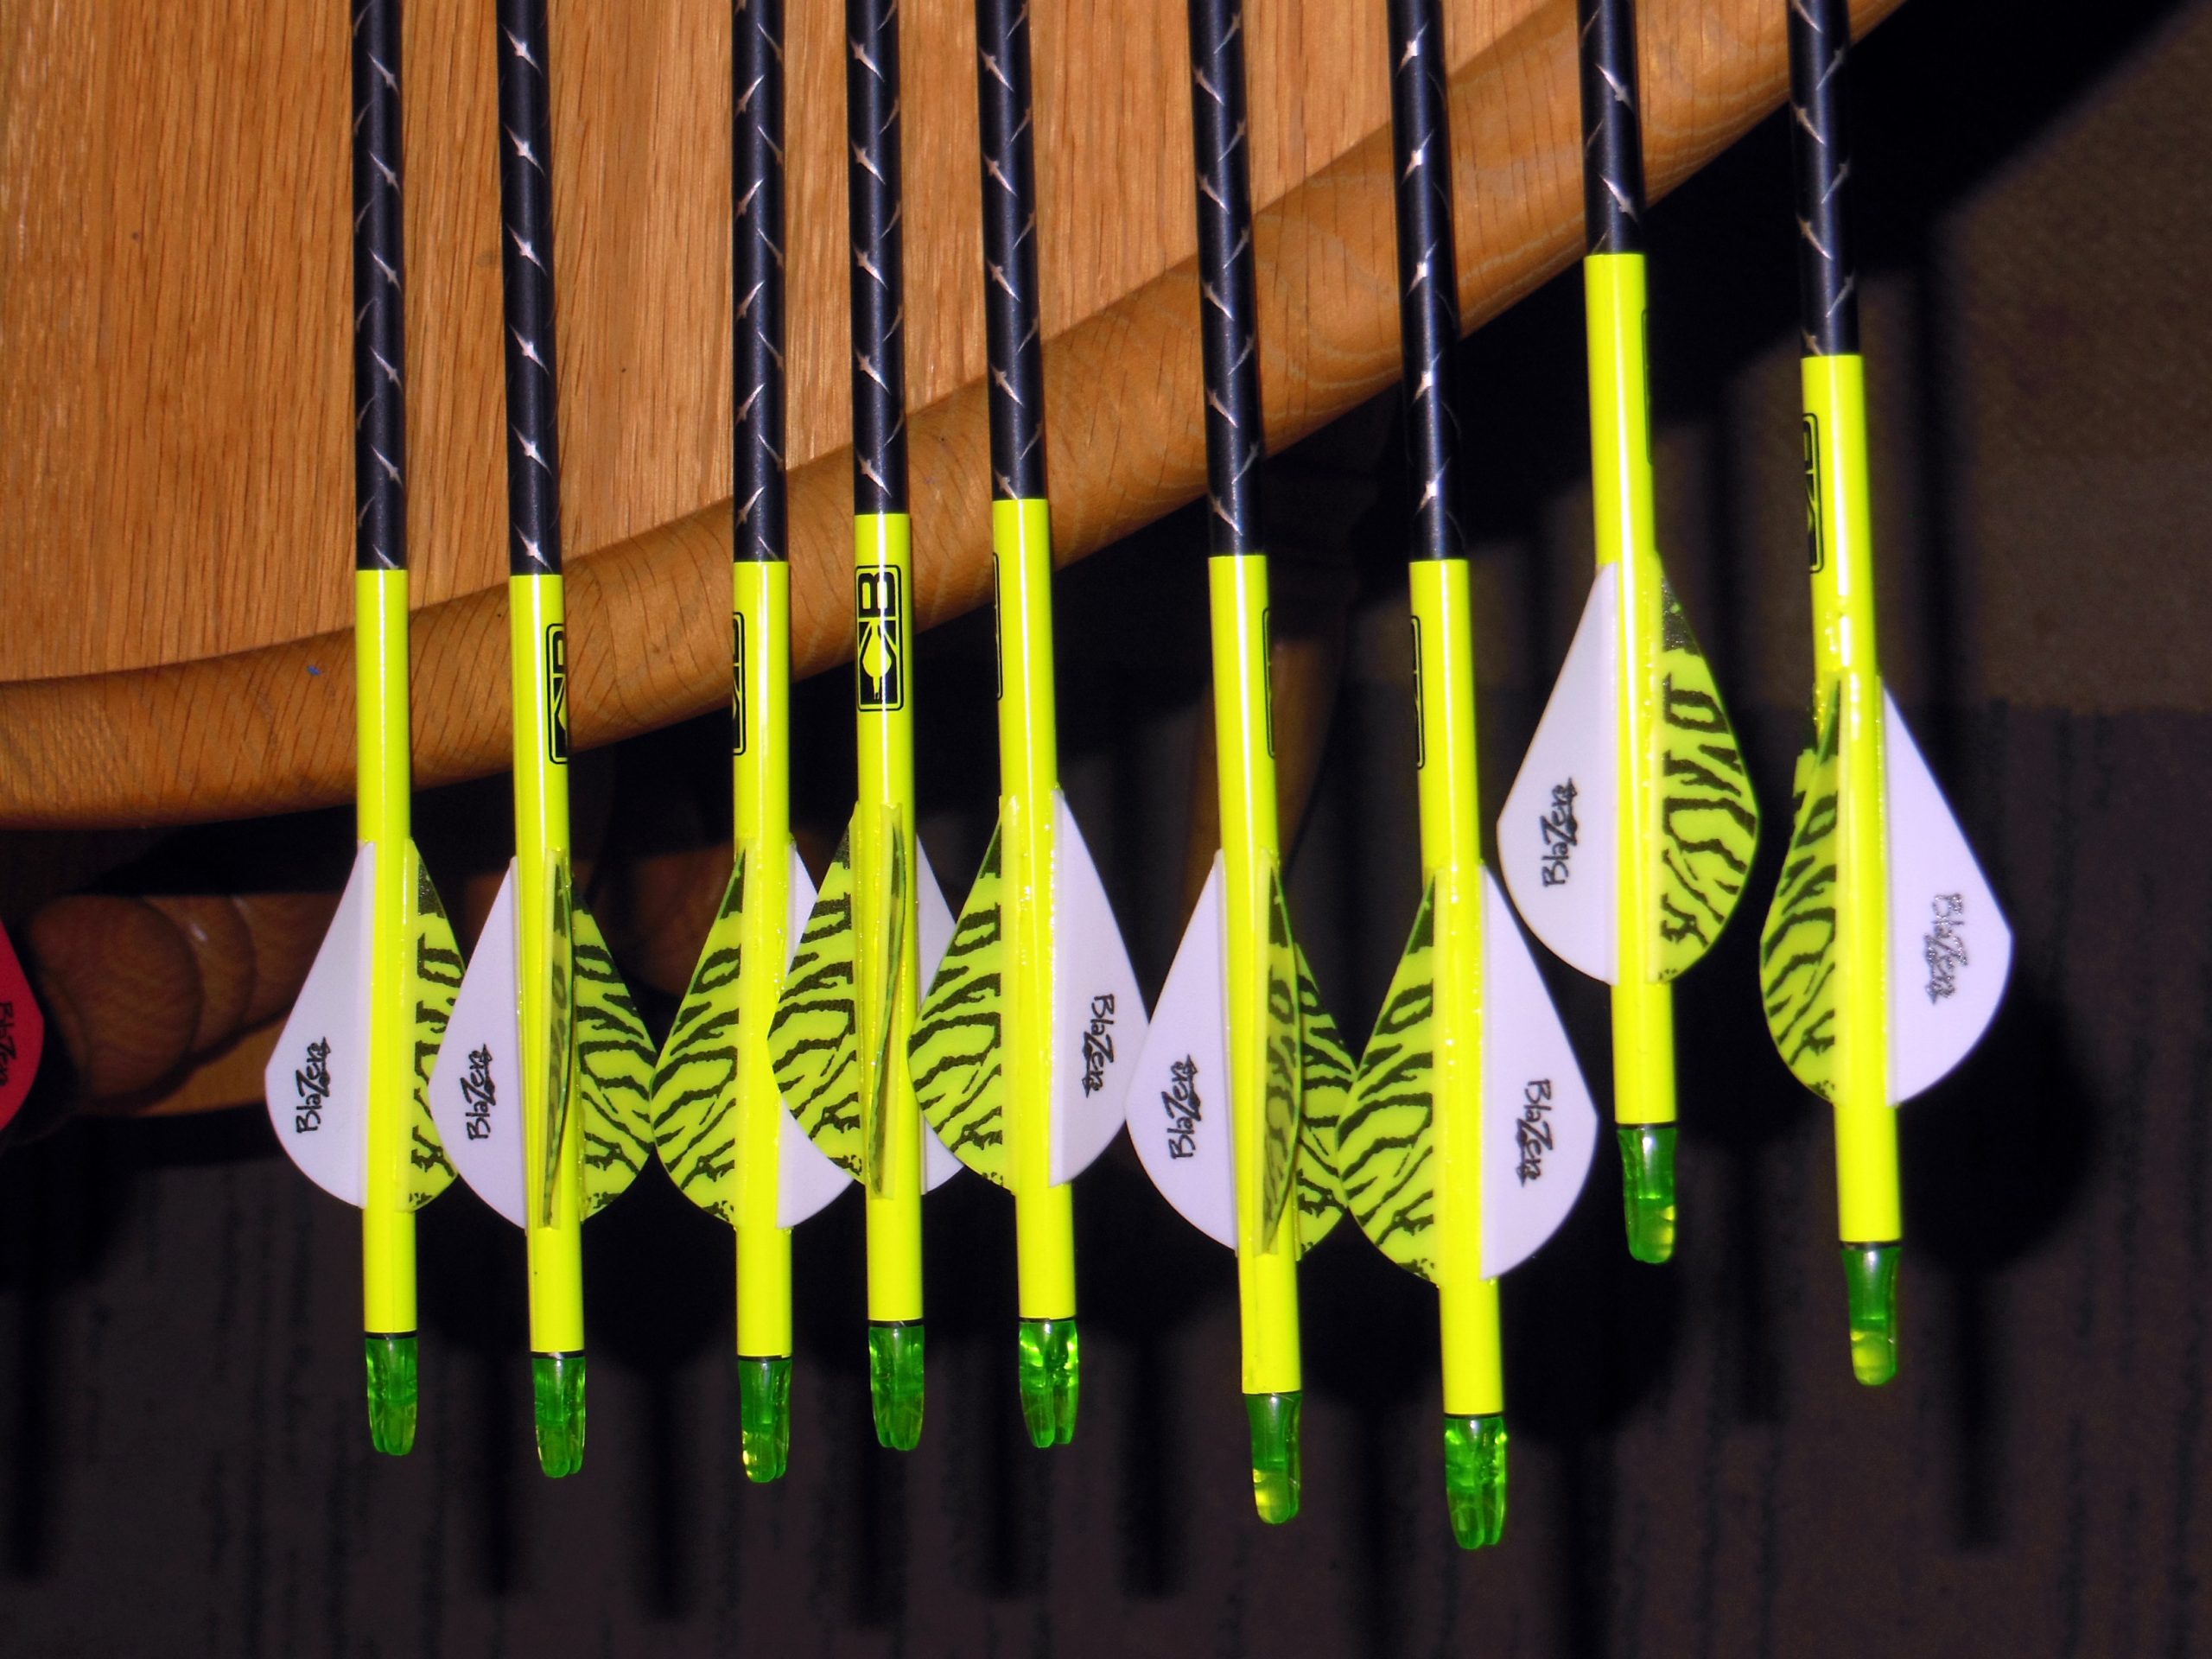
As far as the arrows go, there are basically four main components with an option for a fifth. These include the shafts themselves, fletching, nocks and, inserts, and if desired, you can install wraps for a specialized look. With your shaft of choice in hand, you’ll have to select the size, shape, design, and color of plastic vane or feather fletch you want to use. Different manufacturers, like Bohning, Arizona Archery Enterprises (AAE), and New Archery Products (NAP) – for instance – make a wide assortment of vanes, each designed for very specific applications. You can choose vanes more suitable for indoor shooting or outdoor shooting, shorter, longer, higher profile, lower profile, stiffer, softer, and differently shaped vanes as well. Then of course, color selection is always a consideration as well. Some bowhunters want their strings, cables and arrows to stand out visually, while others prefer a more subtle look. It’s always wise to go with a higher quality vane. While each of the aforementioned companies make decent plastic vanes, I personally use Bohning, particularly their 2.25” X-vane and their 2” Blazer vanes. TrueFlight and AMG are two brands that I recommend for feather fletching.
Wrap or No Wrap
Some archers like wraps, others don’t. Some of my bows have arrows without wraps, and others have arrows decorated with wraps. They won’t make your arrow perform any better, but they do enhance the look and they definitely make them more visible. Again, these come in a wide range of colors and patterns providing plenty of options for customizing the appearance of your arrows. Wraps are a personal choice; I like to use the 4” Bohning wraps as their adhesive is both reliable and durable. Different companies make different options available in longer or shorter adhesive wraps typically ranging from 4” to 7” in length. Installation of adhesive wraps is straightforward, but takes a bit of precision to install them. If quick and easy is your preference, companies like NAP make a shrink wrap as well. New Archery Product’s QuickFletch line, comes in a 3-fletch or a 4-fletch configuration. Literally, if you can boil water, you can professionally crest and fletch an arrow in less than 10 seconds. Shrink wraps are arguably the easiest way to fletch your arrows either in the field or at home and they are guaranteed not to slip. The nice thing about NAP’s QuickFletch system, is that they shrink to fit any size carbon or aluminum arrow shaft.
Nock Options
Yes, nock choice is a thing, and yes, they can be technical. Again, performance is a consideration, and you’ll need to sort out which kind, and color, of nock you prefer to use. Essentially, manufacturers engineer nocks to handle the high percentage of energy passed from the bow’s limbs to the arrow. From a performance standpoint, they need to be strong and they need to fit the string properly. Different companies offer a variety of options. For instance, you could go with the green Allen Titan Carbon Arrow Nocks and Inserts, or a lighted option like the NAP Thunderglo Illuminated Nocks for high visibility. The key is to know the diameter (ID) of your arrow shaft, as each is designed to fit a specific diameter.
As far as colors go, I like to either match or contrast my nocks with the color combinations on my arrow shafts and fletching, but if you really want to trick out your arrows, lighted nocks, serve a practical purpose in the field. Lighting up upon release, they provide an enormous visual advantage allowing the shooter to observe not only arrow flight, but point of impact, and they also aid in helping the shooter retrieve their arrow as well.
Necessary Tools
You’ll need two tools to make arrows. The first is an arrow saw and the second is a fletching jig. You’ll also need different glues. If you don’t have access to a saw, you can ask your local pro shop to cut them for you. Fletching itself requires a jig. Over the years, I’ve experimented with several jigs. My favorite is the Bitzenburger – mostly because it’s made out of zinc alloy and I find it to be most precise. The Bitzenburgers aren’t cheap, but they’re worth it. Regardless of which jig you use, be sure to use the desired positioning of the jig to ensure that you get the proper finished product, namely the offset helical fletch positioning on each arrow. Alternatively, plastic fletching jigs come in a variety of configurations. Bohning’s Tower Jig, for instance, is particularly handy for installing all three at one time. The only drawback is the limitation to three-fletch configurations. With the current shift to four-fletch configurations, single-fletch jigs may be necessary.
If you’re accustomed to making your own arrows, you’ve probably encountered the odd problem, e.g., maybe you’ve seen wraps get wrinkled or bunched up with an air bubble underneath … or maybe you’ve seen fletching pull off or get stuck to the jig. Regardless of any complications you may have experienced, take extra care to follow these basic steps and you’re sure to see success the next time you build your arrows.
Assembly
The first step to assembly involves cutting the shafts to the desired length, cleaning the inside of the shaft, and installing the inserts with a suitable super bonding adhesive. If Front of Center (FOC) is a priority, consider upgrading to brass inserts to enhance arrow performance and downrange penetration.
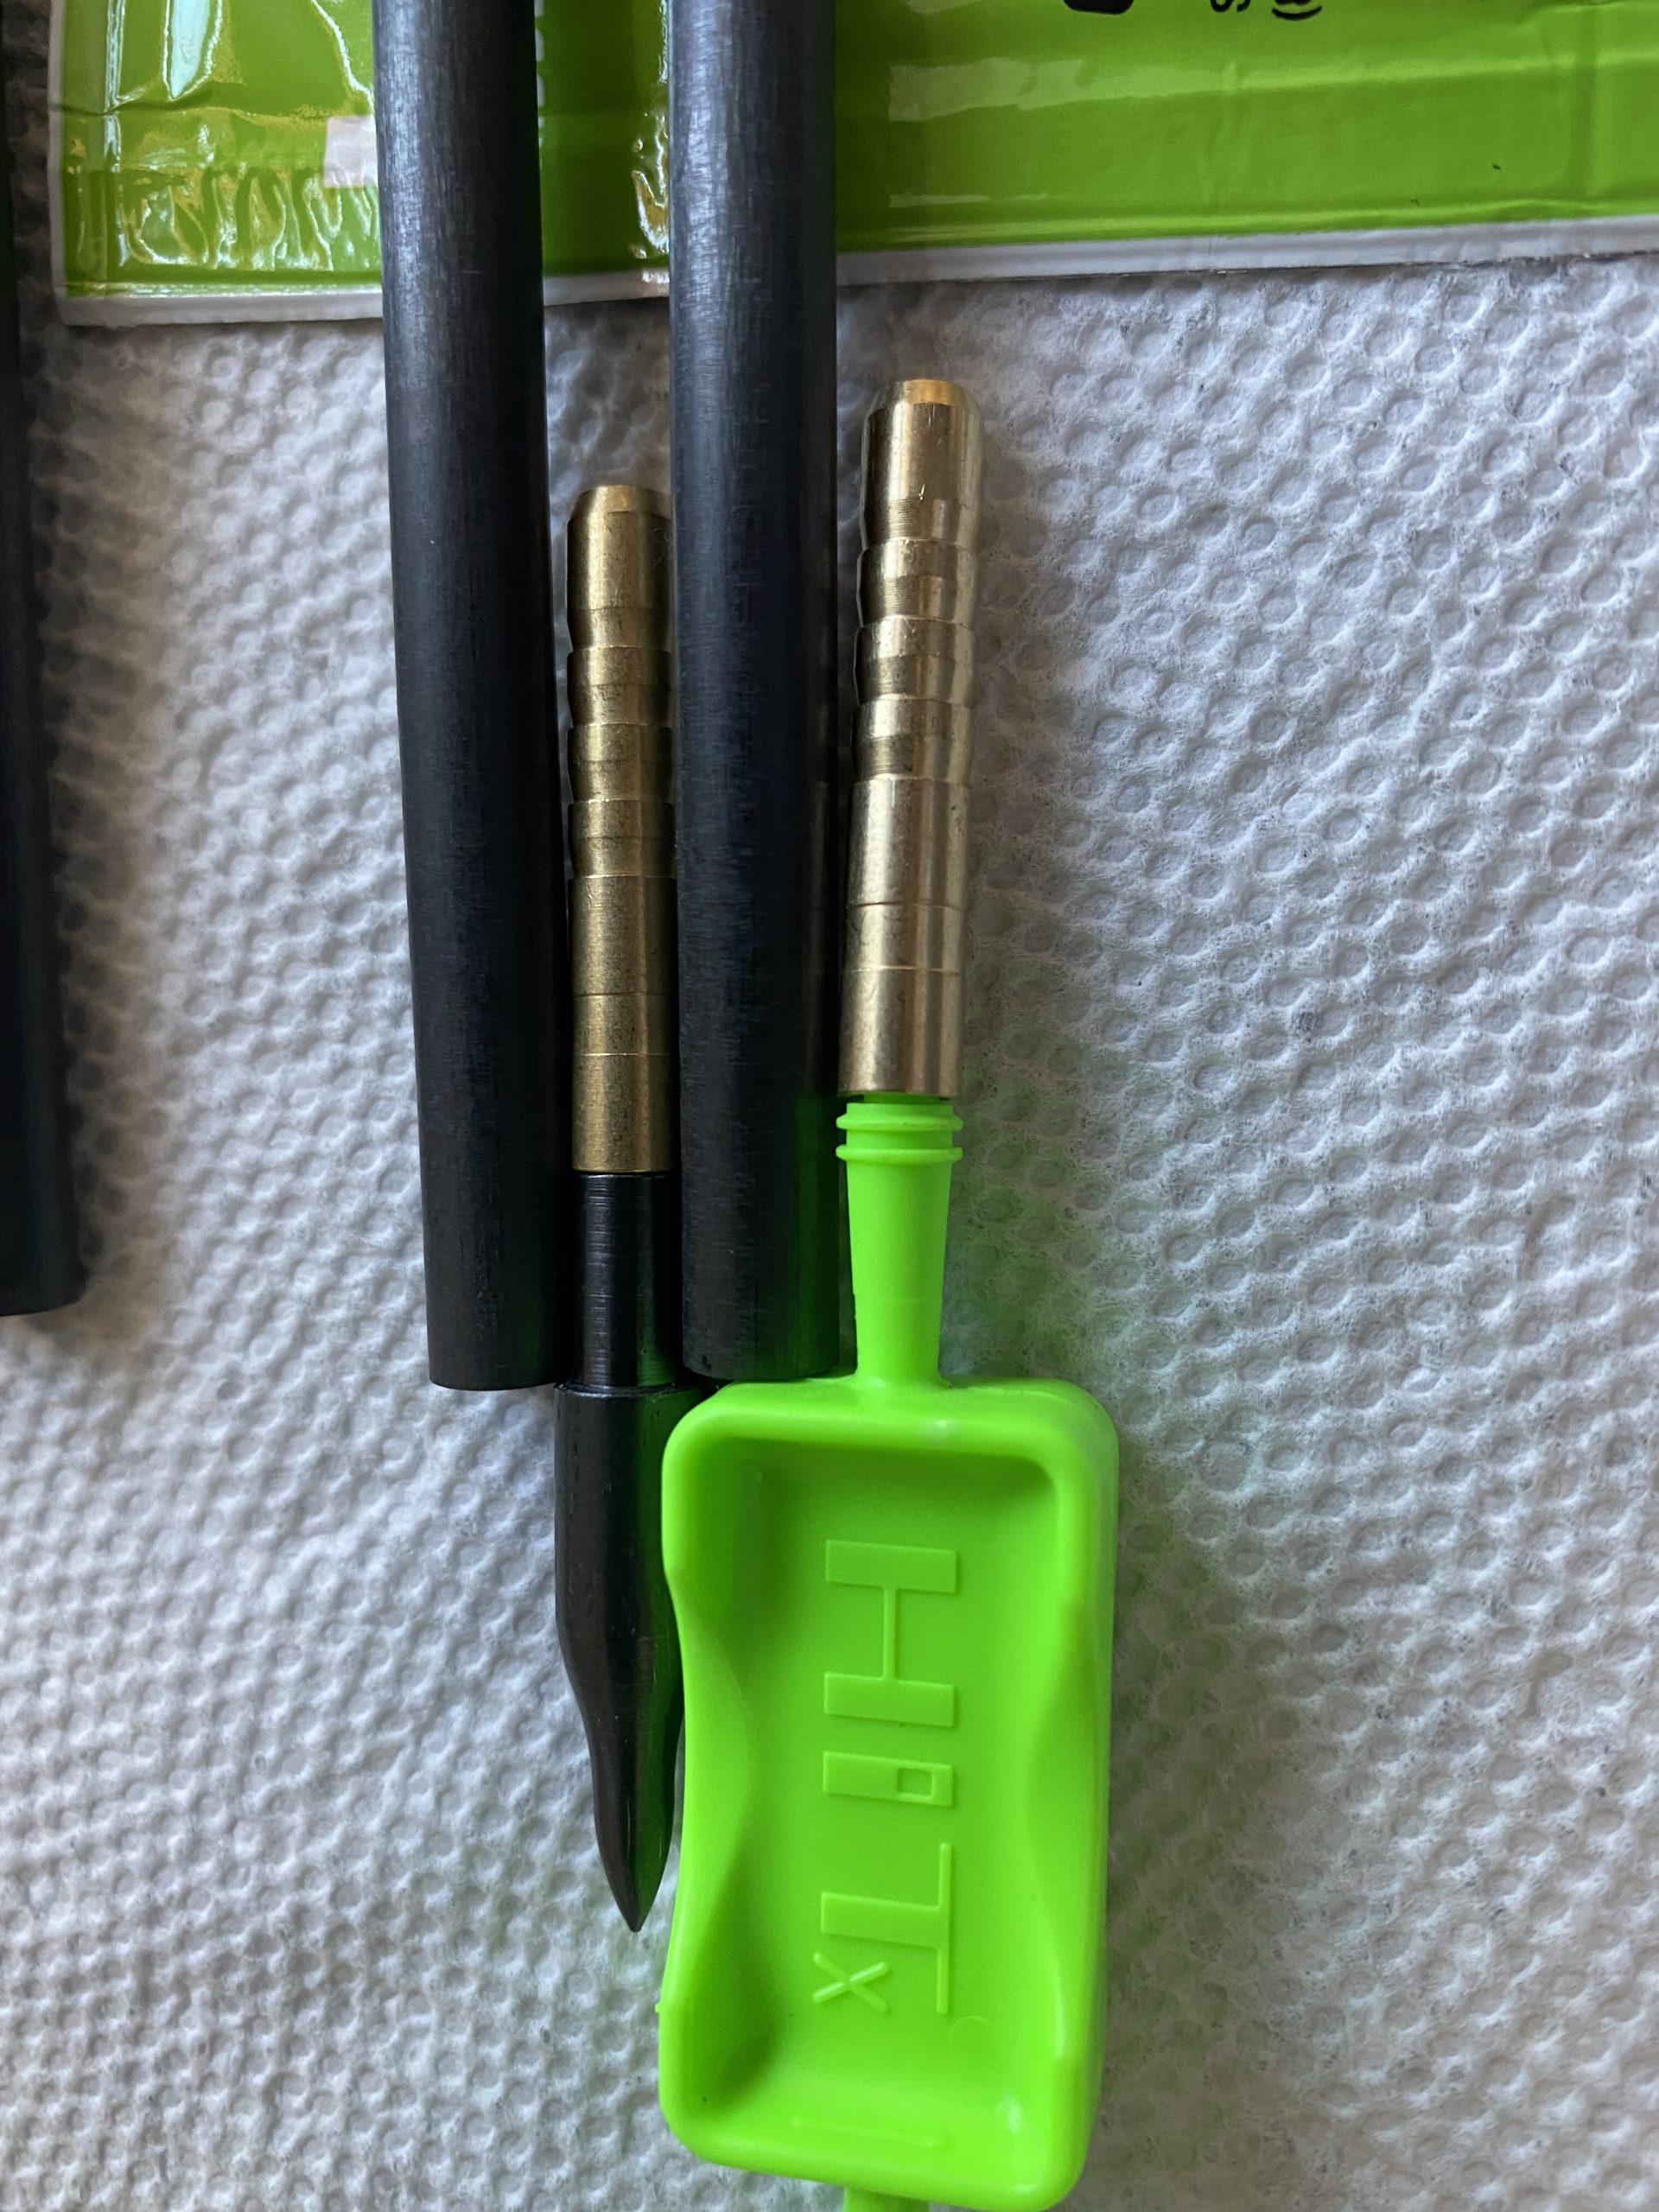
Before applying any glue, it’s a good idea to gently sand the end of the shaft with a grinding stone to remove sharp edges, and then clean the inside with a Q-tip and denatured alcohol. For installing most inserts, a suitable super bonding hot melt adhesive like Ferr-L-Tite, Fer-L-Tite Cool Flex, or Insert Iron will suffice. For hidden inserts like those that come with the Easton Axis shafts, you can use either the two-part epoxy that comes with the shafts, or something like Bohning’s PowerBond or Gold Tip Tip Grip. With some shafts, different glues perform better than others, so you may have to experiment to determine which works best with the combination of shafts, wraps and vanes or feather fletch you’re using. Similarly, while some glues dry faster than others, it’s always a good idea to leave your shafts laying horizontally for several hours; I like to leave mine for a full 24 hours before continuing to work on them.
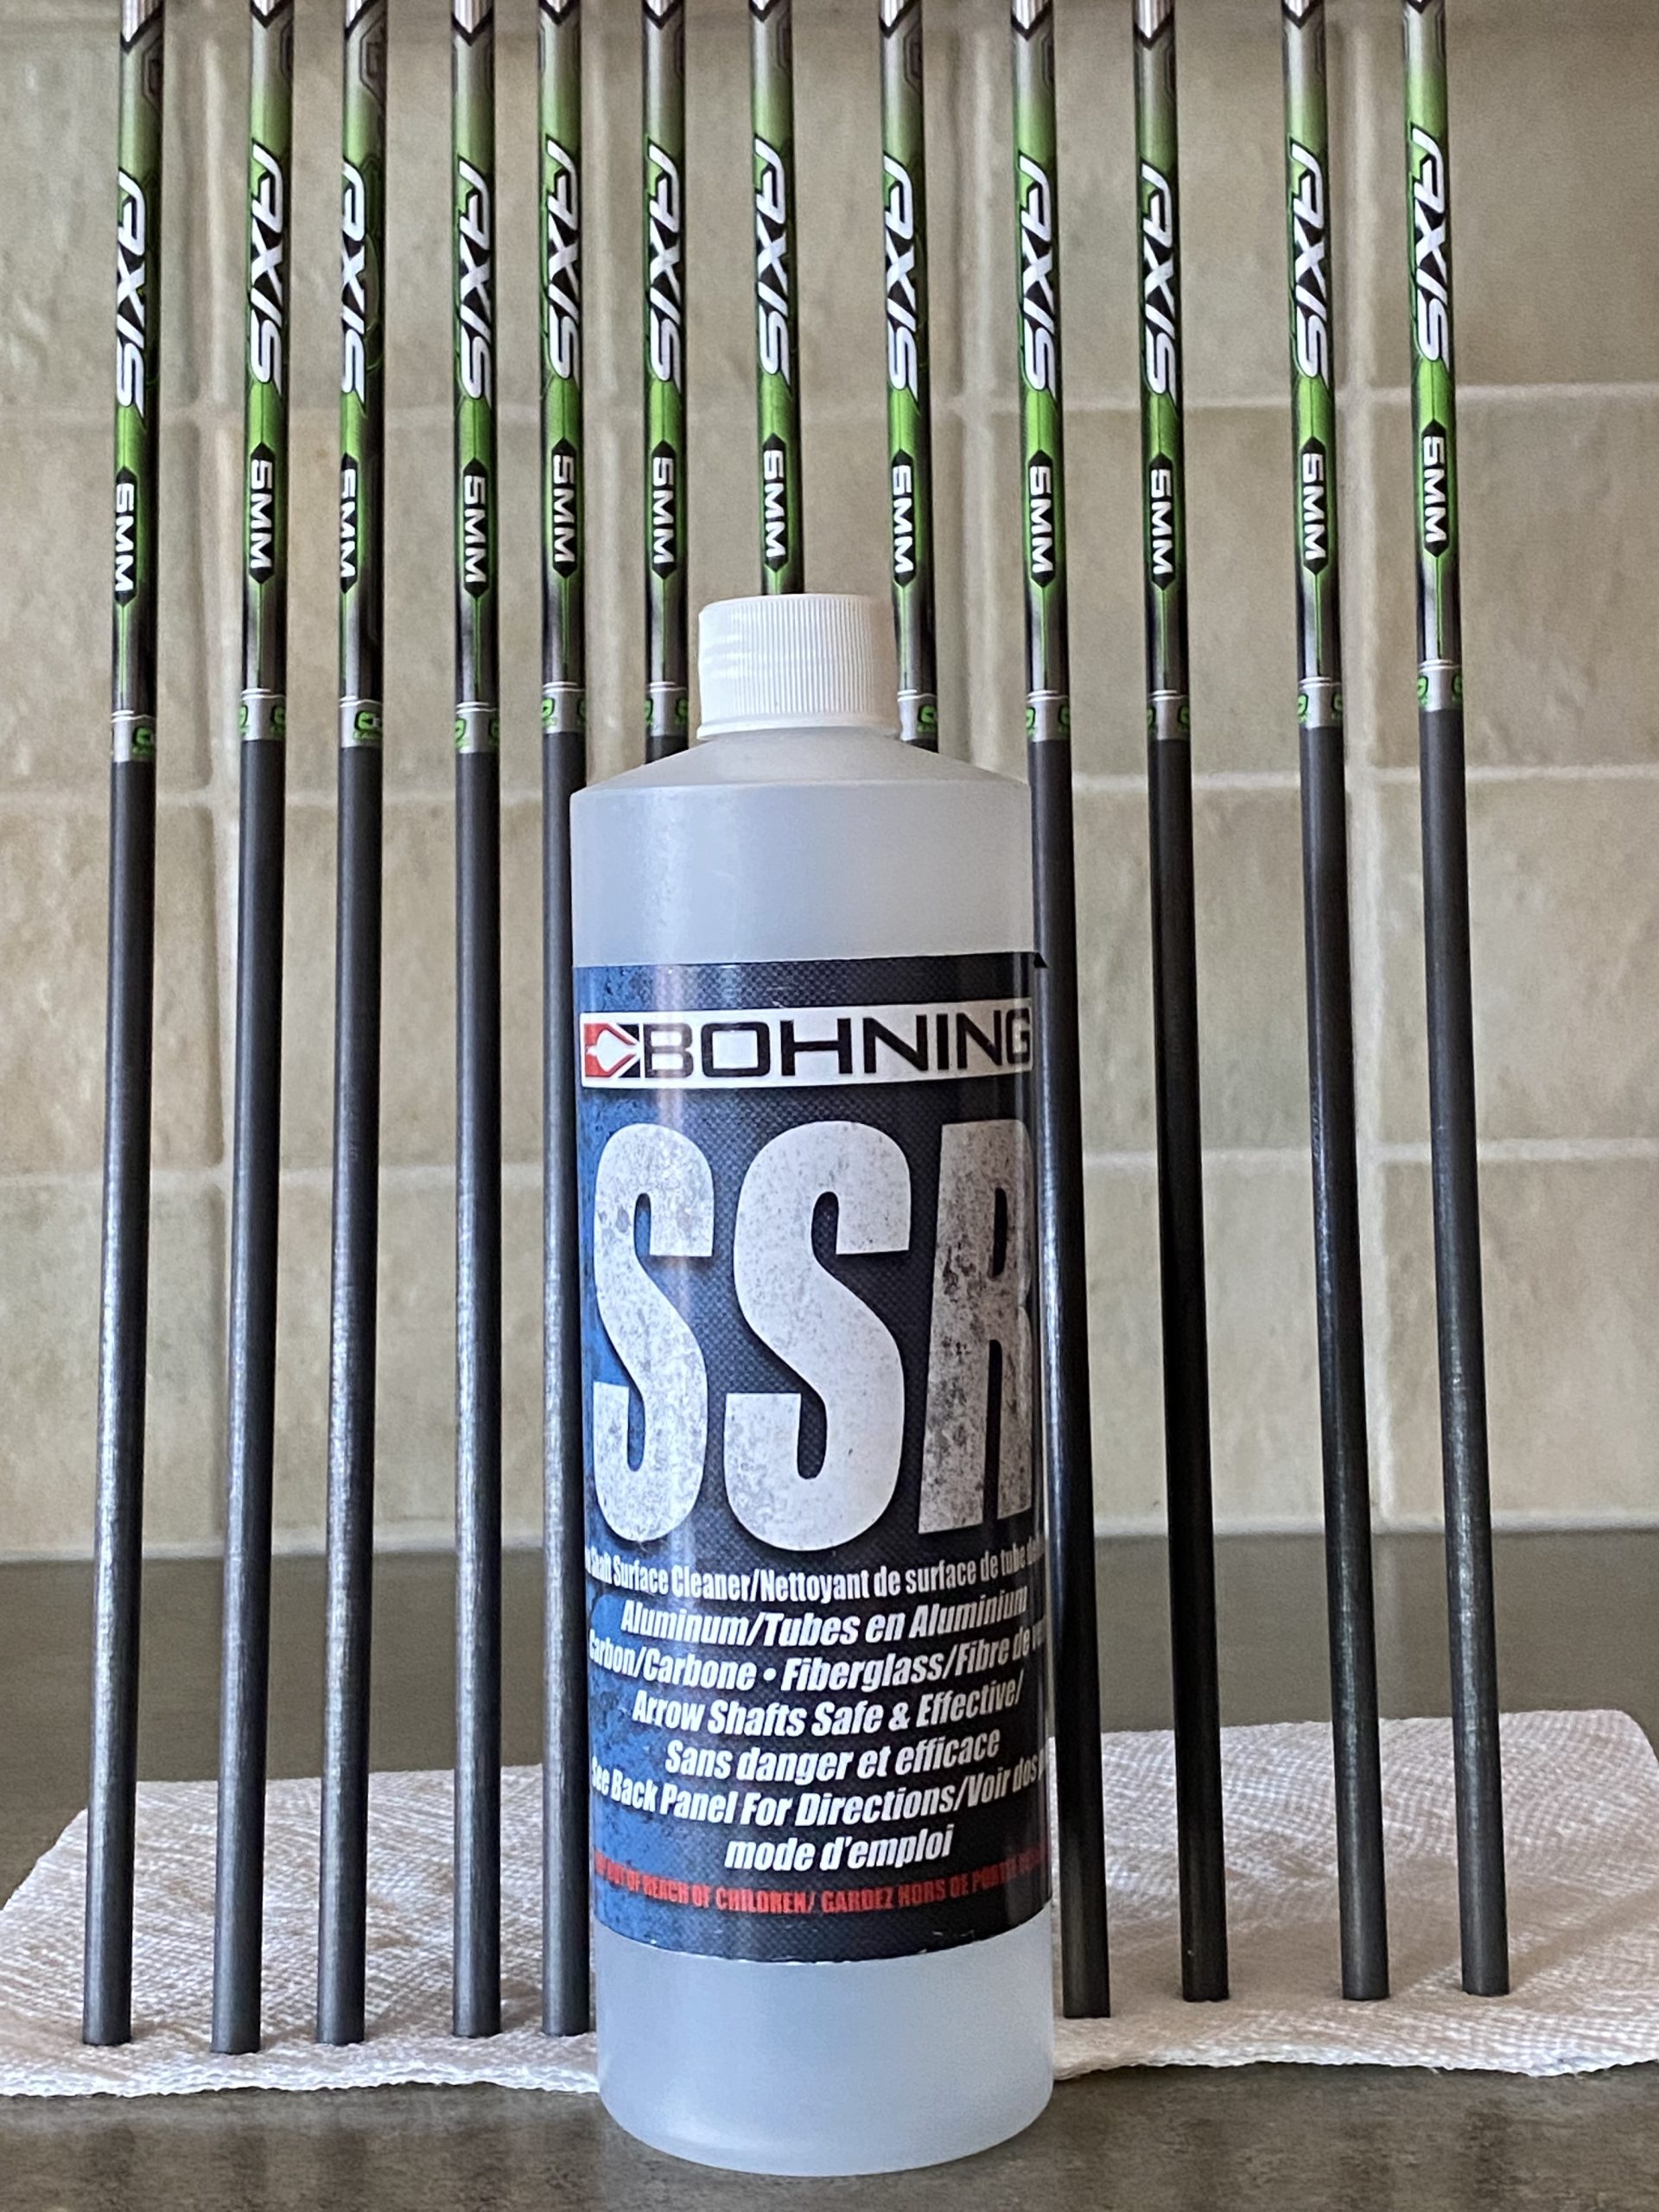
With your inserts installed and the glue dry, you can now proceed with installing wraps and/or fletching. Before attempting to mount the fletching on new shafts, they should be cleaned with acetone or a solvent like Bohning SSR or an abrasive cleaning agent like Ajax or Comet. Once this is done, be sure to rinse them thoroughly under hot running water and then allow them to air dry.
If you like wraps, carefully line each arrow up at a 90-degree angle to a square wall or on a jig. This will allow you to meticulously set the shaft on each wrap and then carefully press down and roll to install it. With each wrap secure, you can then move on to fletching.
A variety of fast-drying super bonding glues can be used for fletching. Most importantly, ensure that whatever adhesive you use is compatible with the arrow shafts. For example, some glues just don’t work on carbon shafts or on wraps. Adhesives like Bohning Fletch Glue, Fletch-Tite Platinum, ExpressBond Carbon Arrow Glue, Gold Tip Tip Grip, or even Super Glue can be good products. Again, it may take some trial and error to determine which glue is best suited to the shafts and components you are using. Remember, some glues don’t bond properly to certain shafts. Be sure to check the manufacturer’s specifications and recommended products to best complement the shafts, inserts, and fletching you plan to use.
With my tower jig it is as simple as removing the arrow nock, standing the shaft on the center post, inserting the fletching into each slot, applying a conservative amount of glue, then closing and locking each arm in place with the jig bracket and waiting. After 10 minutes you can carefully remove the fletched arrow and put it aside to cure. Even though the glue dries faster, I like to leave my arrows for a day before shooting them.
As far as nocks are concerned, I tend to buy colored nocks to either match or complement my wraps and fletching. With the arrow almost complete, it’s now time to insert your nock along with your field tip or broadhead of choice to provide the finished product. Confirm your arrows are ready to shoot by spinning them to ensure they are true.
